Reduce PDF Size for Email Attachments: Practical Fixes That Keep Quality
Sending a PDF by email is supposed to be simple. Yet many messages fail because the attachment exceeds the provider limit (commonly 10–25 MB, sometimes less). The good news: you can reduce a PDF’s size dramatically while preserving legibility for reports, invoices, and scanned documents.
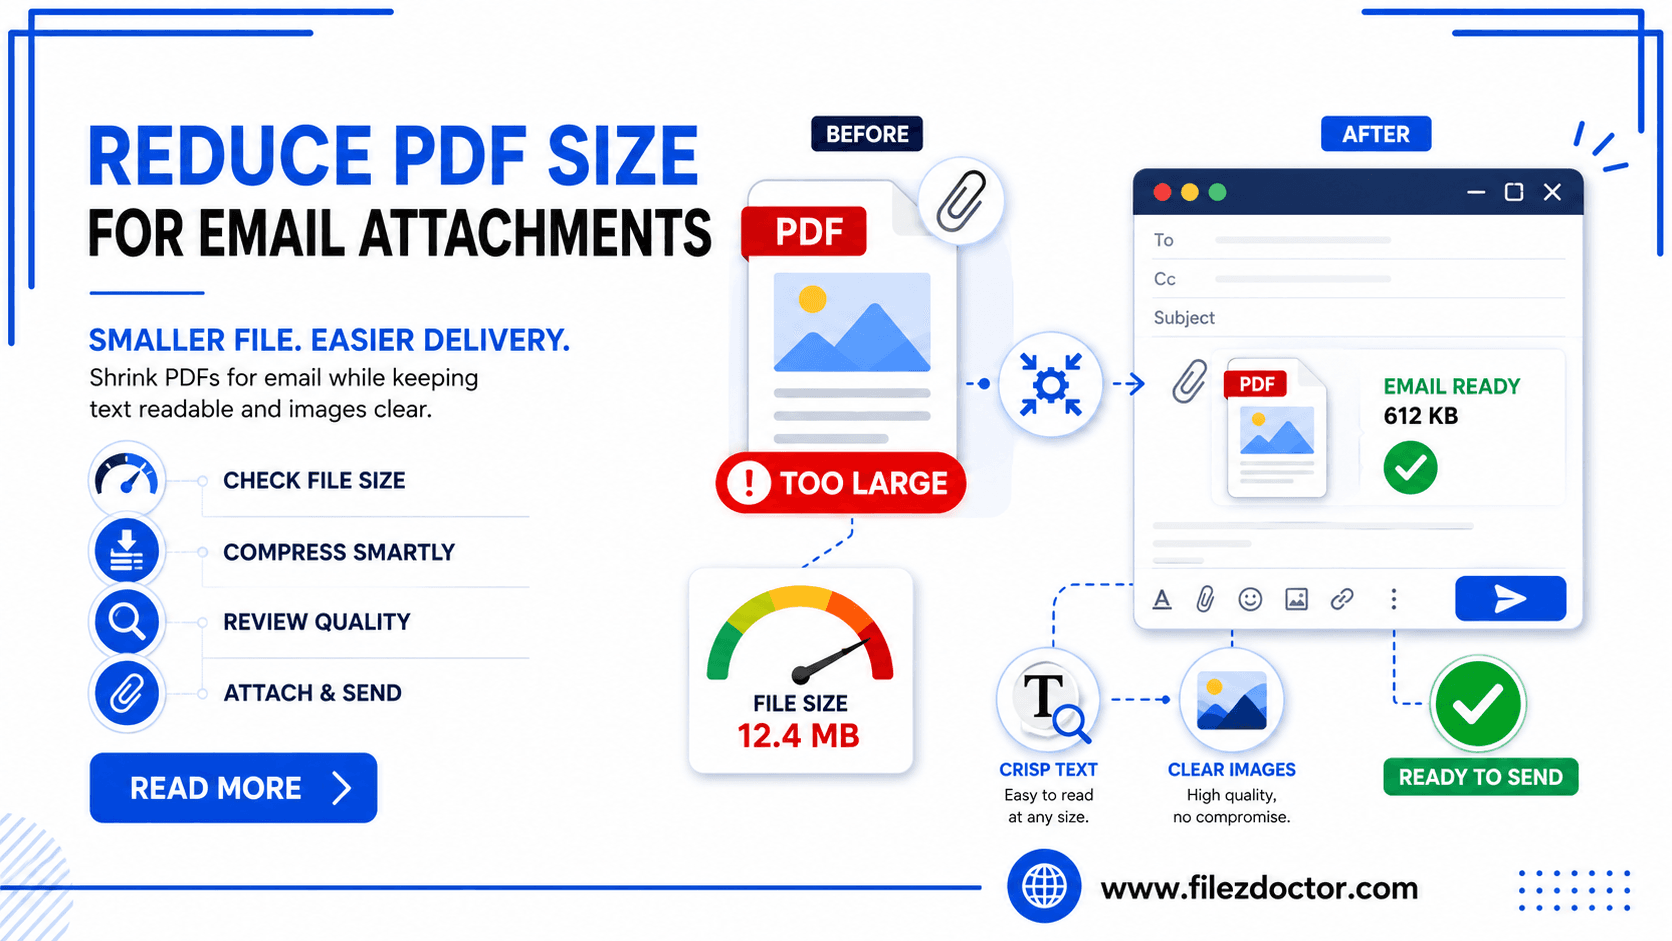
If you need a reliable workflow, start with the FilezDoctor tool: Compress PDF.
Why your PDF is too large (and what matters most)
PDF size usually grows for a few predictable reasons:
1. Images are stored at high resolution
If your PDF is created from photos, screen captures, or scanned pages, the underlying images may be 300 DPI or higher—even when email needs far less.
2. Fonts, objects, and embedded content are not optimized
Even text-based PDFs can become heavy when they include unused fonts, large embedded images, or complex vector content.
3. The PDF contains duplicate or unnecessary layers
Some export processes keep multiple versions of objects or include hidden elements.
4. Color depth and compression settings are not balanced
True color and lossless settings can explode file size. You often don’t need maximum fidelity for email viewing.
What you want is a compression strategy that targets the real weight in the file: image resolution, image format, and overall optimization.
Before you compress: choose the right quality target
Compression isn’t one-size-fits-all. Before you start, ask:
Who is the reader?
- If recipients will view the PDF on desktop, moderate quality loss is often acceptable.
- If recipients need to print, keep enough clarity for text and charts.
What kind of PDF is it?
- Mostly text (reports, letters): you can usually keep near-perfect readability.
- Mostly scans or screenshots: image downscaling usually delivers the biggest gains.
Do you need to retain “inspection grade” output?
If the PDF will be used for formal submission, you may want to compare a sample page after compression.
Step-by-step: reduce PDF size the safe way
Step 1: Identify the source type (text vs. scanned)
Quick check:
- If pages look like “pictures” and you can’t select text easily, it’s likely scan-based.
- If text selection works, you likely have a text-based or hybrid PDF.
Step 2: Lower image resolution (for scan-based PDFs)
If images are the main culprit, reducing DPI is usually the fastest route:
- A common email-friendly range is 150–200 DPI for many scanned documents.
- For highly detailed charts or very small fonts, you might stay closer to 200–250 DPI.
This often shrinks the file more than changing compression alone.
Step 3: Recompress images with the right balance
For scanned content, lossy compression can cut size dramatically while remaining readable. The goal is to reduce:
- image quality where it doesn’t affect readability,
- color depth when full color isn’t necessary.
Step 4: Remove unnecessary objects and optimize the PDF
Many PDF sources include extra structure that doesn’t help email delivery. Optimization can remove:
- unused embedded resources,
- redundant metadata blocks (without deleting what’s essential for your document system),
- unneeded transparency overhead in some exports.
Step 5: Test with a small “sample” before batch emailing
If you’re dealing with a long document, compress just one or two pages first. Verify:
- headings remain readable,
- tables and numbers are not blurred,
- page layout stays consistent.
If the sample passes, compress the full file.
Using FilezDoctor to compress effectively
When you want results without guesswork, use Compress PDF to apply smart compression for email delivery.
In general, a good compression workflow looks like:
- Upload the PDF.
- Pick a size/quality mode based on your email needs.
- Download the compressed result.
Tip: If your email is failing at a specific size (for example, 15 MB), aim slightly below the threshold so you have margin for any re-encoding or download overhead.
Common pitfalls (and how to avoid them)
Pitfall 1: Over-compressing scanned documents
If text becomes fuzzy or small numbers blur, increase the target quality or DPI slightly.
Pitfall 2: Converting everything to black and white
For receipts, forms, and colored charts, a forced black-and-white conversion can remove meaning. If color matters, keep it at a reduced but sufficient level.
Pitfall 3: Compressing once, then editing afterward
If you compress and then re-edit the PDF, you may reintroduce size bloat. For the smoothest outcome, compress as the final export step before emailing.
Pitfall 4: Sending very large multi-page scans without splitting
If a file is still too big, consider splitting by section (e.g., “Invoice pages” and “Supporting documents”) and emailing separately. This is often better than extreme compression.
FAQ
What is the best DPI setting to email a scanned PDF?
For many scanned documents, 150–200 DPI is a solid starting range. If text is small, move closer to 200–250 DPI.
Will compression remove the text in my PDF?
Compression should not remove text content in a text-based PDF. In scanned PDFs, it can affect image clarity, which may make text harder to read, but it does not automatically “delete” recognized text.
Is it better to compress or to split the PDF?
If your file is moderately oversized, compressing is usually simplest. If you’re far over the limit, splitting plus moderate compression often preserves readability better.
Why does my “compressed” PDF still exceed the email limit?
Common causes include images dominating the file, multiple large pages, or using a compression method that doesn’t reduce image resolution enough. Try a stronger quality/DPI setting, or split the document.
Ready to optimize your PDFs?
Experience the world's fastest PDF tools today.