How to Extract Images From PDF Documents (Without Guessing)
Extracting images from a PDF comes up constantly: you need a logo for a slide deck, you want to reuse a chart in a report, or you must pull screenshots out of a user guide. The difficulty is that PDFs aren’t “folders of images”—they’re page layouts where images may be embedded, transformed, or shared across multiple pages.
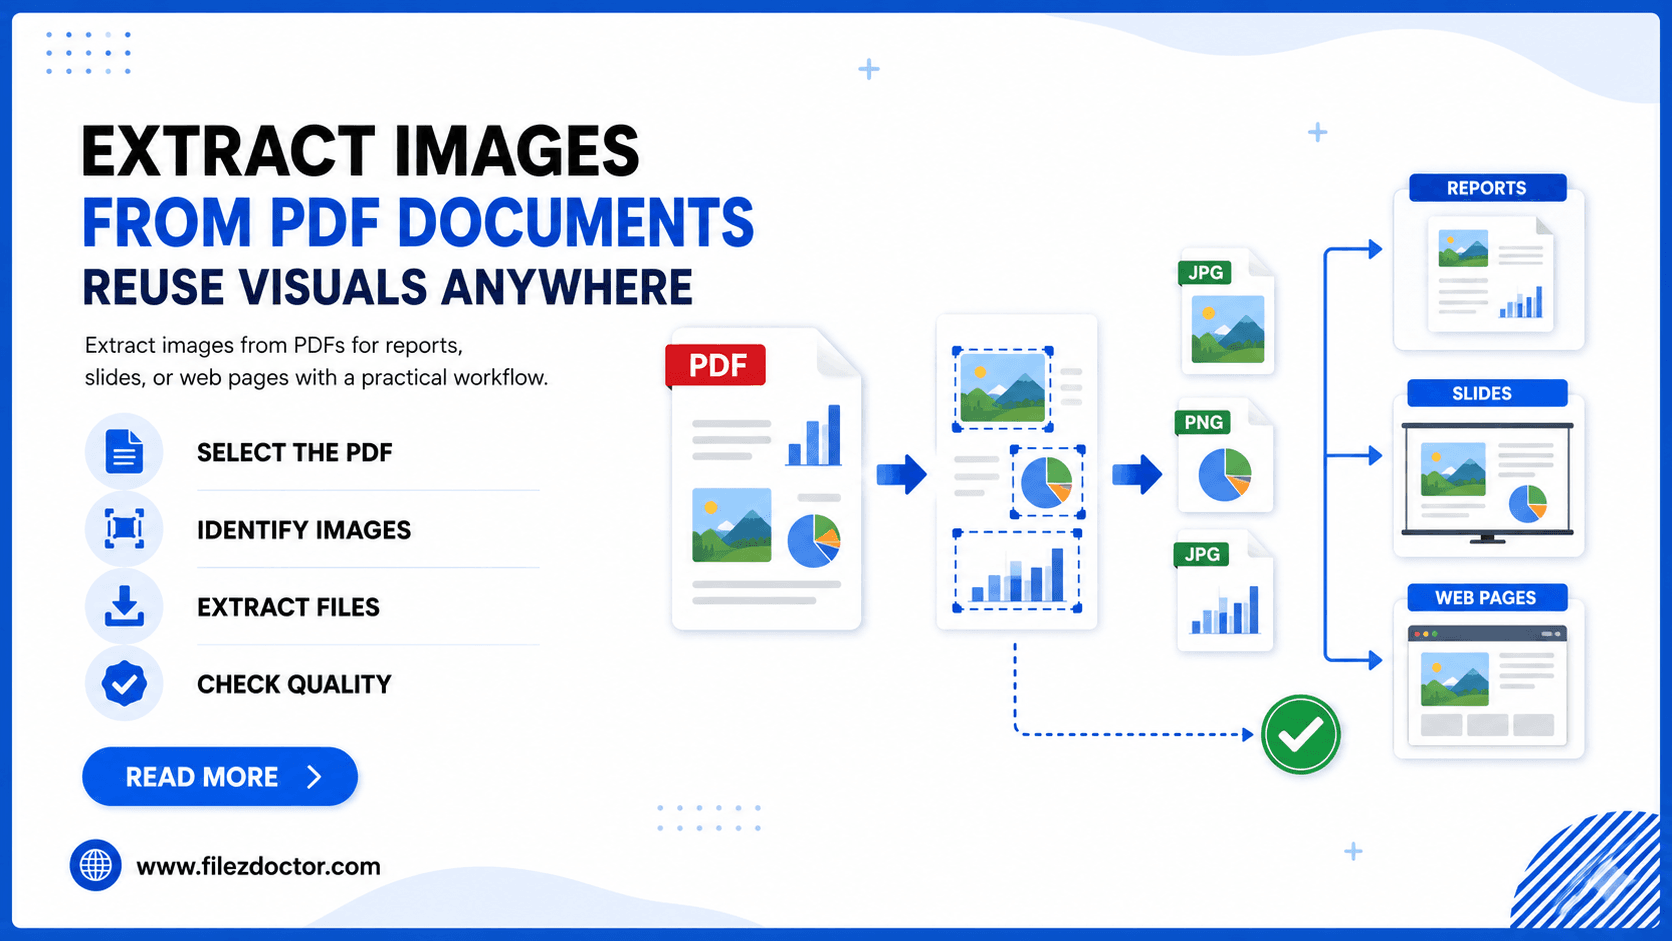
If you’re looking for a straightforward method, use Extract Images from FilezDoctor.
What “extract images” really means in PDFs
When you extract images from a PDF, you typically want one (or more) of these outcomes:
1. Save embedded raster images as PNG/JPG
These are the most common images in scanned documents and exported designs.
2. Recover images that were created from vector content
Sometimes graphics are drawn as shapes (vector) rather than embedded raster bitmaps. In that case, extraction may behave differently—your “image” may be a rendered result rather than the original bitmap.
3. Pull images used multiple times
Many PDFs reuse the same image object across pages. A good extraction workflow keeps output consistent, either by extracting each occurrence or by deduplicating.
Step-by-step workflow (practical and repeatable)
Step 1: Decide your end goal
Before you extract, determine how you will use the images:
- For web or slides: PNG/JPG usually works best.
- For crisp text-like graphics: you may prefer a vector workflow, but extraction can still be helpful when you only need the visual.
Also decide whether you need:
- all images,
- only images from selected pages,
- only specific image types.
Step 2: Identify whether the PDF is scanned or designed
Quick indicators:
- If pages are mostly screenshots/scans, images are often embedded raster images and extraction is usually clean.
- If pages are “designed” with text and vector shapes, extraction may produce fewer true “photo” images, but you can still recover diagrams, icons, and rendered images.
Step 3: Extract the images
Use Extract Images to extract and download images from your PDF in a usable format.
In a typical workflow:
- Upload the PDF.
- Choose extraction options (all pages vs. a subset, and output preferences if available).
- Download the extracted images.
If your document contains many pages, extracting everything at once can be convenient—but you should still plan how you’ll organize output (for example, by page number).
Step 4: Rename and organize for real-life use
Extraction output is only useful if you can find things quickly later. A simple approach:
- Include page number in file names.
- Group images by section (e.g., “Chapter 2 screenshots”).
This is especially important if your PDF contains repeated illustrations or icons.
Step 5: Check quality and crop where needed
If an extracted image includes surrounding margins, you may need to crop. Also inspect:
- sharpness (especially for small icons),
- color correctness (some PDFs use indexed color),
- whether an image was scaled down or rendered with a blur.
Understanding why some images don’t extract “cleanly”
Images may be clipped by the PDF layout
PDFs often clip images to the visible region on the page. Depending on how extraction works, you might get:
- a full original image with empty padding, or
- an image cropped to the visible area.
If you need exact framing, plan to crop after extraction.
Images may be stored in uncommon encodings
Not all PDFs store images in standard JPG/PNG form. Extraction tools typically convert them, but the conversion may alter compression artifacts.
Some graphics are vector-only
If a “logo” was created as vector shapes, extraction might produce a rendered bitmap instead of the original scalable artwork.
If you need a perfect logo for printing, consider recreating it using a vector workflow after extraction (or extract at a higher render quality).
Tips for best results
Extract from the final PDF version
If you have options, extract from the latest exported PDF that matches the final layout you care about. Older versions can contain different embeddings.
If you only need a few images, extract only those pages
Smaller scope improves speed and reduces output noise.
Validate one page before extracting the entire document
Pick a representative page:
- a screenshot page,
- a diagram page,
- a page with icons.
Confirm that the extraction yields useful images; then run the full extraction.
When you might need additional steps
Sometimes extraction alone isn’t enough:
- If the image includes text that must be editable, extraction gives you a graphic you may need OCR.
- If you need transparent backgrounds, the PDF may not support it directly; you can remove backgrounds in an editor after extraction.
- If images are tiny, you may need higher render quality when extracting (when options exist).
FAQ
Can I extract images from a PDF that contains scanned pages?
Yes. Scanned PDFs usually embed the page imagery as raster images, so extraction typically works well. Expect to check resolution and crop if needed.
Will extracted images keep the exact original quality?
Often they will be close, but PDFs can scale and compress images. If the PDF was generated at a low resolution, extraction cannot create original high-resolution pixels.
Do I need to extract every image in the PDF?
No. If you only need certain screenshots or diagrams, extract only the relevant pages to keep your output organized.
Why do I get duplicate images?
Some PDFs reuse the same image object across multiple pages. Depending on the tool and settings, extraction may output duplicates or a single shared asset.
Ready to optimize your PDFs?
Experience the world's fastest PDF tools today.