How to Compress a PDF Without Losing Quality
Compressing a PDF should make files easier to send and store, not harder to read. The tricky part is that many “compression” methods reduce quality by over-blurring images, re-encoding fonts, or re-compressing already-compressed JPEGs. In this guide, you will learn how to reduce PDF size while protecting the parts that matter most: sharp text, readable diagrams, and images that look natural on-screen.
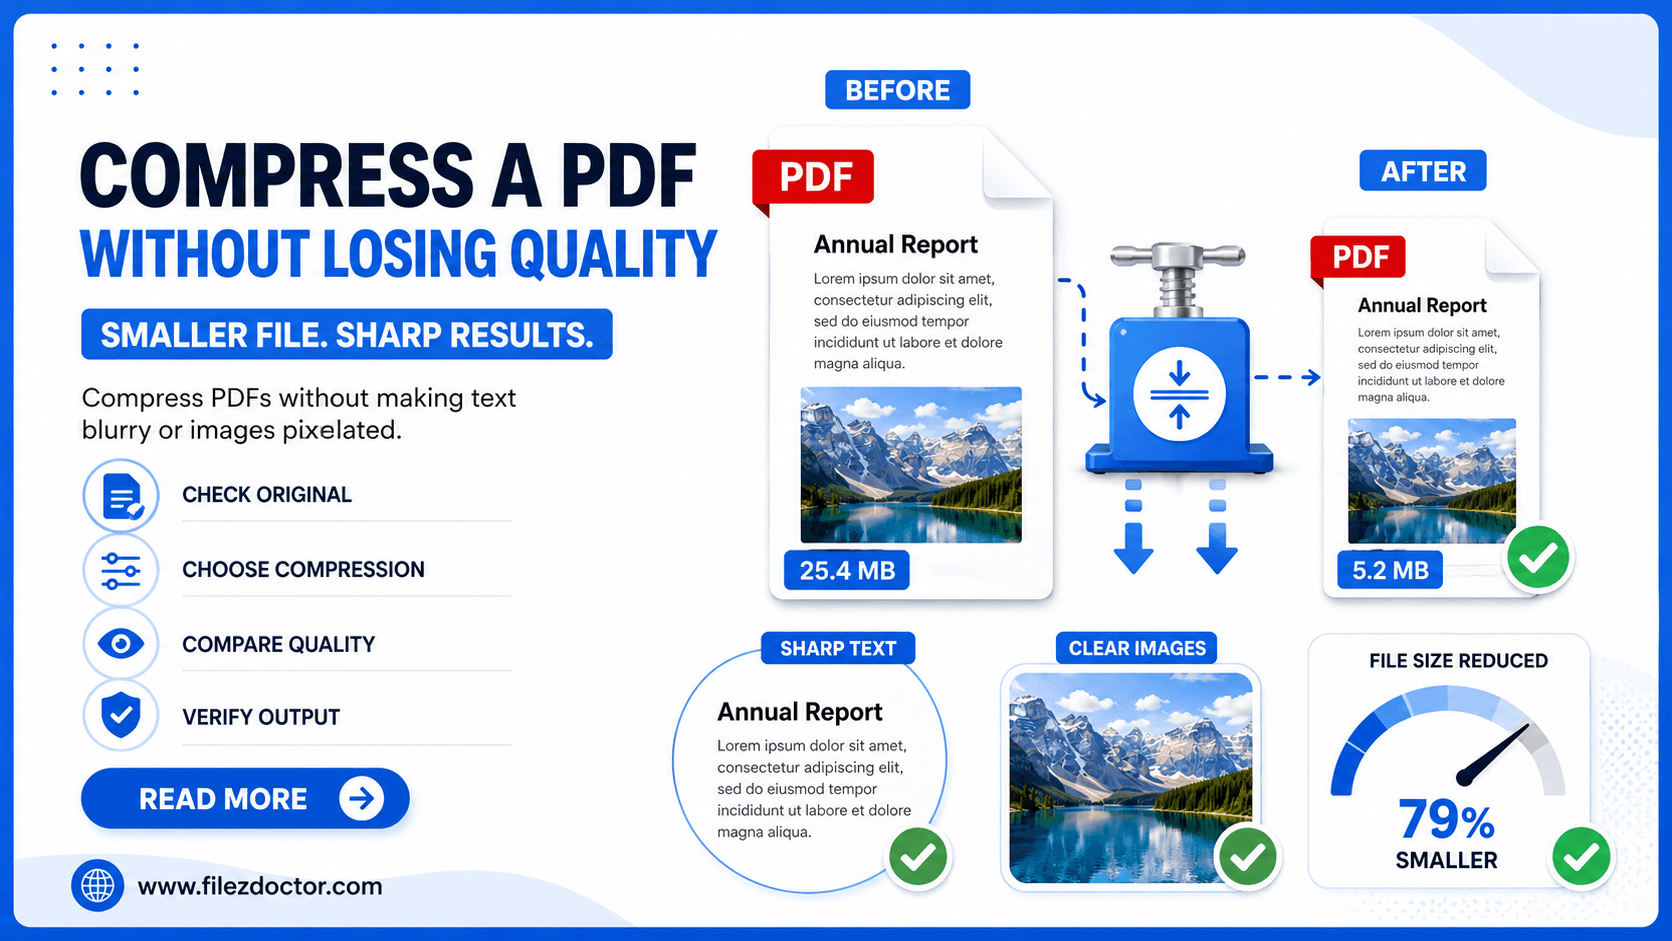
If you want a simple, tool-based workflow, try the Compress PDF tool. This article also helps you understand what settings to look for so you can judge the results confidently.
What “quality” means inside a PDF
PDFs can contain several types of content, and each one responds differently to compression.
Text and vector graphics
When your PDF stores text as vectors (the normal case for documents created from Word, Google Docs, InDesign, etc.), quality usually depends on whether the tool preserves vector data and font handling. Good compression keeps vectors as vectors, meaning the text remains crisp at any zoom level.
Raster images
If your PDF includes embedded images (photographs, screenshots, scans, or exported graphics), the image resolution and compression method strongly affect perceived quality. A small change in DPI or JPEG quality can noticeably impact sharpness.
Scans and mixed pages
Many real-world PDFs are mixed: some pages are clean document text, while others are scanned pages or screenshots. The safest approach is to compress different content types differently rather than applying one aggressive setting to the whole file.
A practical goal: shrink the file, not the readability
Before you compress, ask two questions:
- Will the PDF be read on-screen, printed, or both?
- Which pages are most important for clarity (for example, charts, section headings, or signature pages)?
For most submissions (job applications, school uploads, client emails), on-screen readability matters most. For printing, you may need to keep image resolution higher.
How to compress without losing quality
Step 1: Check where the size is coming from
If you have an unusually large PDF, the first step is to identify likely culprits:
- High-resolution images (screenshots saved with large dimensions)
- Scanned pages (often stored as large bitmaps)
- Embedded fonts (sometimes duplicated or embedded at high “subsets”)
- Unnecessary metadata (creator/editor trails)
- Duplicate content or hidden layers (common in some export pipelines)
If your tool provides a breakdown (images, fonts, pages), use it. If not, you can still test: compress once, compare, and then adjust.
Step 2: Prefer “lossless where possible, controlled loss where necessary”
The best compression strategies typically follow this rule:
- Keep vectors and text as vectors when available.
- Compress images with a quality target that remains visually lossless for typical viewing.
- Avoid repeatedly re-encoding the same images.
That is why some “one-click” compressors look great, while others silently damage the file.
Step 3: Use sensible image settings (DPI and JPEG quality)
When compression tools let you control image output, you usually see options like:
- DPI for images
- JPEG quality level
- Whether to remove alpha channels
- Whether to downsample images
As a general starting point:
- For screen-first PDFs, you often do not need extremely high DPI.
- For printed detail (technical drawings, fine text in images), you may keep a higher DPI.
If a preview is available, check it. Otherwise, compress one sample page to test readability.
Step 4: Don’t strip what you need
Some tools offer “optimize for web” options that can remove:
- Tags for accessibility
- Embedded color profiles
- Certain interactive features
- Layers used by form fields
Those features might not be required for every use case, but if you rely on form fields, annotations, or screen-reader compatibility, confirm the optimizer preserves them.
Step 5: Validate the final PDF the way users will read it
Quality is not just “file looks smaller.” Validate with these checks:
- Zoom in on body text: does it stay crisp?
- Zoom in on charts and lines: do they stay sharp or look fuzzy?
- Scroll through pages with images: do gradients look banded?
- Open on the target platform and double-check key pages.
Recommended checklist before you upload
Use this quick checklist to avoid surprises:
- Keep the original filename version until you confirm readability.
- Compress and re-check the pages that contain the most detail.
- Ensure the PDF opens without errors on common viewers.
- Confirm that file size limits for the destination are met.
- If you need printing, do a quick print preview or test print page.
Common pitfalls that cause quality loss
Over-compressing entire files
Applying the same aggressive settings to every page is a common cause of “why is it blurry now?” results. A page that is already vector text may not need image downsampling at all.
Reprocessing an already-optimized PDF
If your PDF already contains well-chosen image compression, reprocessing can accumulate artifacts: blockiness, noise, and softened letters inside images.
Downsampling too far
Reducing resolution too aggressively can make lines and small fonts look smeared, especially in diagrams or screenshots.
When to choose a different approach
Sometimes “compression” alone is not enough. Consider these alternatives:
- Export again from the original source with better settings (for example, avoid exporting at too high a resolution).
- Replace scanned pages with OCR text plus optimized images.
- Split a large multi-part file into smaller sections for easier submission (useful when platforms have strict size caps).
When to use FilezDoctor’s Compress PDF tool
If you want a straightforward way to reduce size while keeping things readable, use the Compress PDF tool. It is designed for typical document uploads where clarity matters more than ultra-low file size.
As a rule of thumb: aim for the smallest file that still passes your zoom-in checks.
FAQ
Will compressing a PDF always reduce quality?
Not always. If the PDF is mostly vector text and graphics, compression can reduce file size with minimal visual changes. Quality loss usually happens when images are downsampled or re-encoded too aggressively.
How do I compress a PDF while keeping text sharp?
Look for tools that preserve vector text and fonts, and avoid heavy “image-only” downsampling settings. If the PDF contains text as part of scanned images, you may need OCR instead of only compression.
What should I check after compression?
Zoom in on small fonts and dense diagrams, inspect gradients in images, and open the PDF on the device/viewer that will be used for submission.
Is it better to compress once or multiple times?
One compression pass is better. Multiple passes can add artifacts and degrade images gradually, even if each pass seems “light.”
Final thoughts
Quality-friendly PDF compression is about targeting what actually drives file size. When you preserve vectors and carefully handle images, you can usually shrink the file significantly without turning your document into a blurry copy.
Ready to optimize your PDFs?
Experience the world's fastest PDF tools today.