Converting Scanned PDFs to Editable Text
Scanned PDFs are great for archiving and sharing, but they are frustrating when you need to edit the content. If your PDF is a scan of printed pages, the text is usually stored as images.
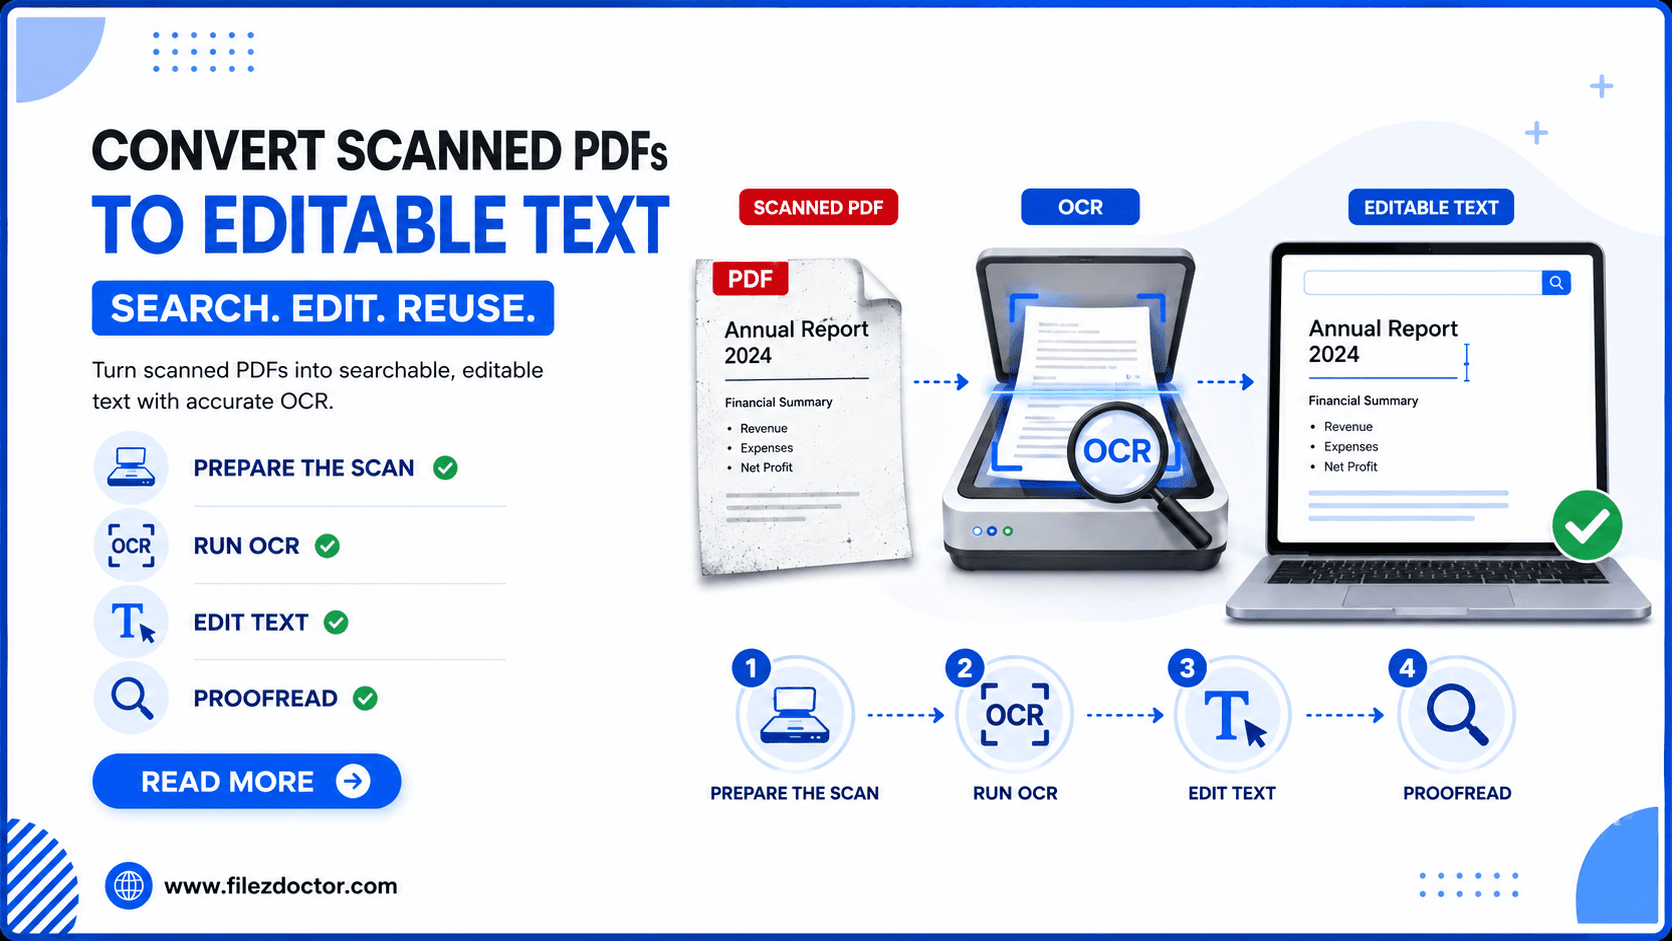
which means:
- you cannot select the text
- search engines may not find it
- copying into another document often fails
OCR (Optical Character Recognition) solves that problem by turning images into actual text. If you are ready for an OCR workflow, start with the OCR PDF tool.
What OCR changes (and what it does not)
OCR can convert image-based content into text that:
- can be selected
- can be searched
- can sometimes be exported or edited
However, OCR is not magic. Accuracy depends on:
- scan clarity and resolution
- lighting/contrast (for camera photos)
- skew or rotated pages
- the language and character set
- fonts (especially unusual typefaces)
Before you OCR: improve your input for better results
Tip 1: Use clearer scans when possible
If you control how the scan is created, prioritize:
- sharp focus
- even lighting
- minimal shadows
- correct orientation
If you used a phone camera to scan pages, the best scans usually show crisp edges and consistent contrast.
Tip 2: Reduce skew and cropping issues
OCR performs better when the page is straight and the text fills the page appropriately. Cropped margins can remove context that helps character recognition.
Tip 3: Consider contrast and noise
If your scan is faint or contains artifacts (speckles, background texture), text recognition becomes harder. Sometimes a light “cleanup” step improves results noticeably.
A practical OCR workflow (step-by-step)
Step 1: Choose the right language setting
Most OCR tools ask for a language. Selecting the correct language improves recognition of:
- letters and diacritics
- common words and word patterns
- punctuation
If your document uses multiple languages, do your best to match the dominant language first, or plan for review in the parts that look ambiguous.
Step 2: Run OCR on the scanned PDF
Upload the PDF to an OCR-capable tool and start recognition. Depending on the tool, you may be able to:
- select output options (searchable PDF vs extracted text)
- preserve page layout
- apply multiple passes for complex documents
Step 3: Review the OCR output (the important step)
Even strong OCR usually needs review for:
- numbers (account IDs, addresses, dates)
- names with unusual spelling
- all-caps headings
- small fonts
Step 4: Proofread like an editor, not like a reader
Proofreading OCR output is different from reading a final document. Focus on:
- comparing against the original scan (when possible)
- checking critical fields: totals, dates, signatures, and IDs
- fixing misread characters (for example,
0vsO,1vsl)
If the OCR tool creates searchable text but does not preserve formatting perfectly, you might still need formatting cleanup later.
Preserving layout: what to watch for
Some use cases require the output to match the original layout as closely as possible:
- forms and certificates
- tables and multi-column pages
- documents with complex headers/footers
When the layout is important:
- verify table spacing
- ensure columns did not swap
- confirm line breaks and headings are still readable
If the document will be exported to another format, plan for a final formatting pass.
Handling difficult documents
OCR can struggle with certain scan characteristics. If you hit issues, try these strategies:
- split the PDF into smaller page ranges and OCR the hardest pages separately
- re-scan the problem pages at higher clarity if possible
- manually correct the language selection if your tool supports it
- improve contrast and remove background noise before OCR
If a document is mostly handwritten, OCR might need a handwriting-capable workflow. For mixed printed/handwritten pages, run OCR on printed sections first, then address handwritten content separately.
After OCR: make the text truly useful
Once you have OCR text:
Option 1: Keep it as a searchable PDF
A searchable PDF is often enough for archives and quick retrieval. The advantage is that page visuals remain consistent while the text becomes findable.
Option 2: Extract and edit the text
If you need to reuse content in a Word document or update specific sections, extracting text can save time. Expect some cleanup, especially with line breaks and table structures.
Option 3: Combine with a broader workflow
If your larger task involves multiple steps (for example, OCR, then splitting into sections, then merging into a final submission), treat OCR as the transformation that enables later editing and navigation.
FAQ
Will OCR always produce 100% accurate text?
No. Accuracy depends on scan quality, fonts, and language settings. Plan for a proofreading step, especially for numbers and names.
How can I improve OCR accuracy quickly?
Start with clearer scans, correct orientation, and the right language setting. After OCR, review critical fields first.
Does OCR increase the PDF size?
It can. Adding recognized text layers and metadata may increase size slightly, but the trade-off is usually worth it for searchability.
Should I OCR before or after compressing?
For most workflows, OCR first can be safer because compression may change image quality and reduce recognition accuracy. If you must compress, do it after you confirm OCR quality.
Final thoughts
Converting scanned PDFs to editable text is one of the highest-leverage fixes for document workflows. The key is to treat OCR as a quality process: improve the scan when you can, run OCR with correct settings, and then proofread the parts that matter most. With that approach, scanned documents become searchable, reusable, and much easier to manage.
Ready to optimize your PDFs?
Experience the world's fastest PDF tools today.